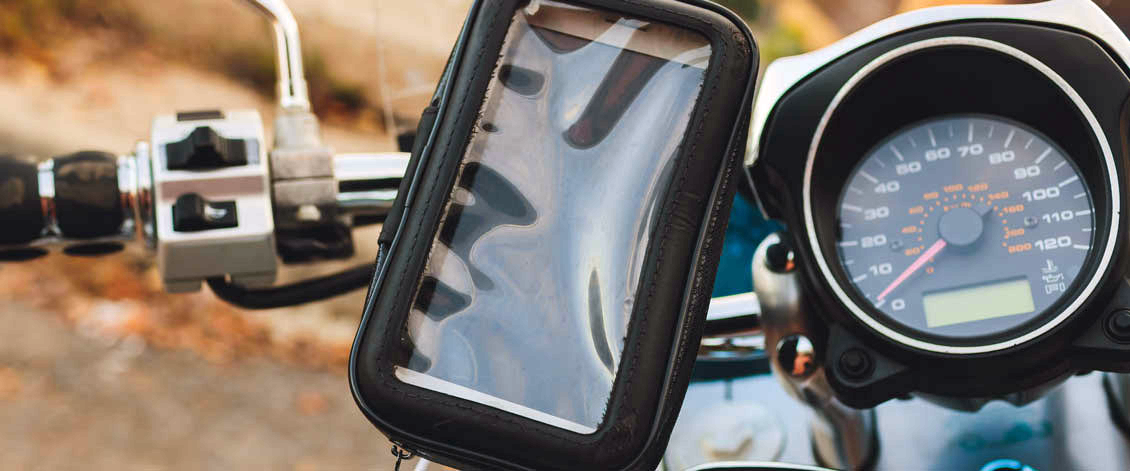
Be the champ of amps
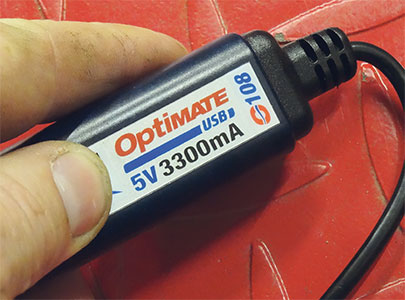
Fitting your bike with a USB socket is really straightforward, but you do need to choose a port that has the correct power output for your needs. A USB is always five volts – this does not vary – however amperage does. To charge a phone and run it as a satnav without losing charge you need to have a USB output of at least 2 amps or 2000mA.
Go for quality components
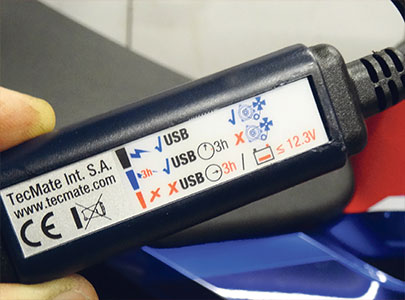
Online marketplaces make it really tempting to go cheap with this type of accessory, but if you do, be prepared for it to fail after only a few months. A quality item should have a rugged, waterproof outer that’s able to withstand rain and grime. And most importantly, vehicle battery protection to prevent the USB port discharging the bike’s battery when not in use.
Get a positive ID
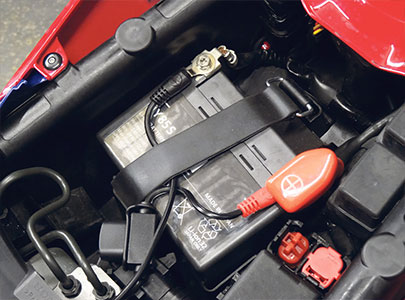
The first thing to do is find out where the bike’s battery is located, as this is where the USB lead will connect. On most bikes the battery is stored under the seat, making it easy to gain access to the terminals and connect up the USB leads. Identify which terminal is positive, this will usually have a red lead attached to it with a ‘+’ mark.
Remove bodywork
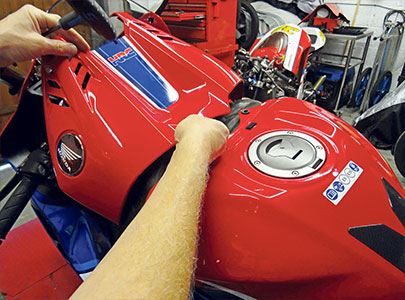
When connecting electrical accessories, always hide the wires behind panels in order to make a neat job. Also make an effort to try to route the cables alongside the existing loom, this will not only make it look tidy but by following the routing of the wires it will also be safer. On fully-faired bikes you may need to remove the tank cover to gain access to a usable route.
Recce the route

Make sure the USB lead can reach from your intended mounting point to the battery terminals without being stretched. Before connecting it, run it alongside the desired route to check there is enough length. Make sure there are no kinks or jagged edges along the route that could snag the wires.
Attach to the loom
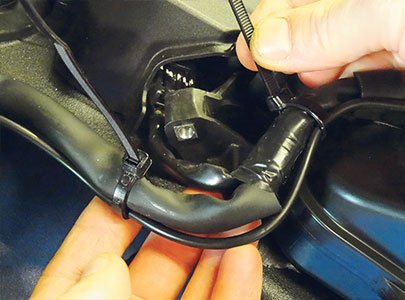
Start threading the wire from the front of the bike to the back, making sure the USB socket is placed near to where you intend to mount it. Follow the routing of the bike’s standard wiring exactly when going in between the forks and yokes. Cable tie it to the loom as you go, keeping it all tidy.
Secure the socket
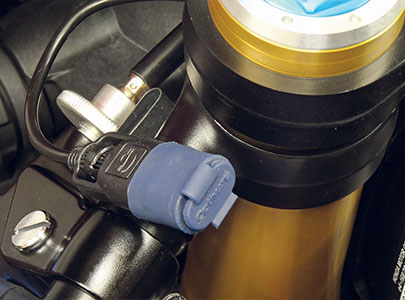
With the lead routed and secured all the way back to the battery, secure the USB socket into its final position. This Optimate USB lead kit has been designed for bikes so has a weatherproof cap and small tie-down points on the sides to fix it. If you intend to use the USB socket for powering up a mobile phone, mount it near to where the phone cradle will be fixed.
Rock your cradle
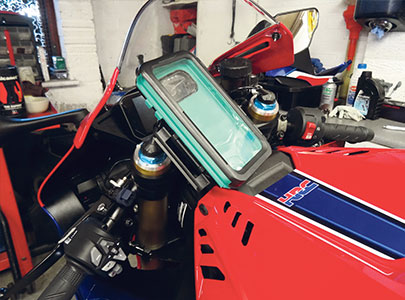
Phone holders can be split into two groups: cradles that encase the whole phone, or the type that just grip the phone in the same way as a car cradle. Pick the one that best suits type of phone you have; be aware that although many smartphones claim to be waterproof, ask yourself whether they’ll be able to withstand being blasted with salty road spray at 70mph…
Make the connection
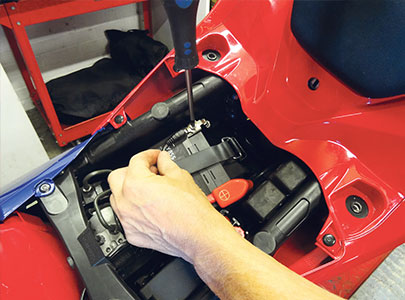
Now connect the USB lead to the battery; a good quality product will have both the positive and negative wires clearly marked to make it easy to connect them up correctly. Red goes to the positive (+) terminal and black goes to the negative (-) post. Tighten the terminals up firmly with the leads attached and then replace any protective rubber caps back on top.
Charge it, check it
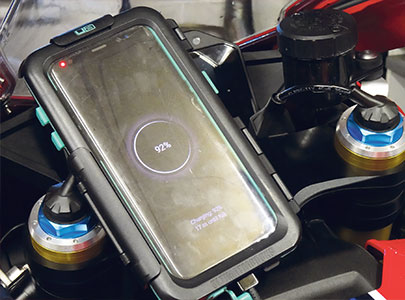
Before you refit any bodywork panels you might’ve removed, plug in the phone and make sure it charges. Whilst doing this, check again that there is no binding from the cables when you turn the steering to both full left and full right lock. Finally refit the tank cover and panels, checking to ensure that they do not squash any of the wires.


